Docker is a powerful tool that makes it easy to run applications regardless of the machine you wrote the code on and the machine you want to run it on. It is widely used in practice as it allows developers to avoid the “But it runs on my laptop!” problem when their code doesn’t work.
You will need to install Docker first from this link if you are working locally.
This is how it works for (basic) python applications:
- Create a
requirements.txtfile - Create a
Dockerfilewhich contains instructions on how to build a Docker image - Run
docker compose upto create a container image, and run it - Commit and push the image to a remote repo so others can run it exactly as you’ve configured!
Docker images are commonly used in conjunction with Kubernetes, which is a service that manages containers.
You will be briefly introduced to how you can setup this Django application to run using Docker.
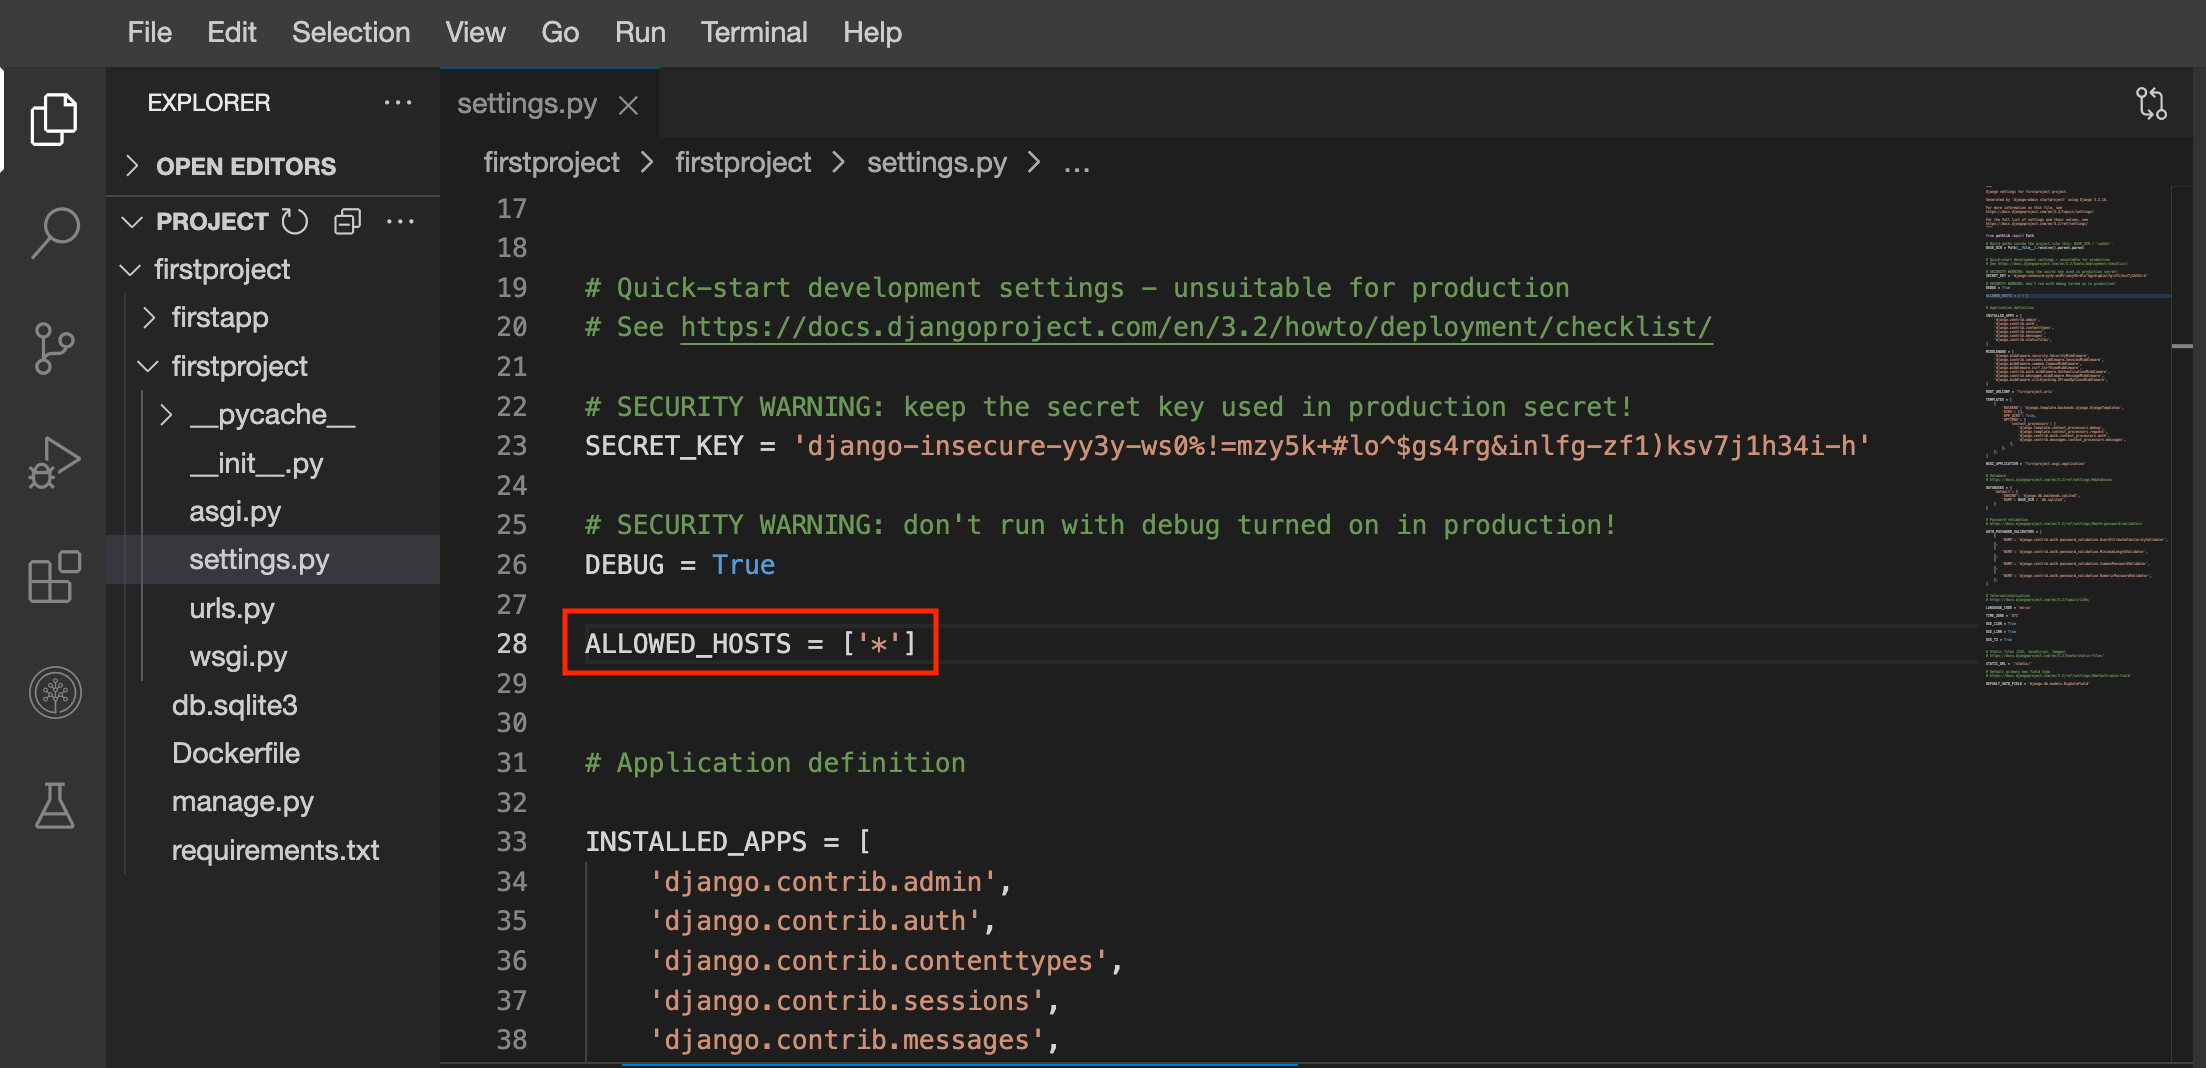
Before going into the technical stuff revolving around Docker, we just need to make one final change to our codebase. By deafult, Django is configured to block all traffic from all hosts including the traffic coming from CloudIDE until we explicity define in them insettings.py.
Therefore, open the setting.py file and change the ALLOWED_HOSTS = [] code to:
ALLOWED_HOSTS = ['*','.us-south.codeengine.appdomain.cloud']
Now lets start working with Docker.
First we need to create the requirements.txt file, which we use to tell Docker what python packages it needs to install. Run the following command in the main /firstproject folder.
pip install pipreqs (uv or poetry)
pipreqs .
Next, we want to create a Dockerfile which instructs Docker how to build your application (in the same directory):
Run the following command to create an empty Dockerfile
touch DockerfileThen open the newly created Dockerfile and copy the following contents to it.
# syntax=docker/dockerfile:1
FROM python:3
ENV PYTHONDONTWRITEBYTECODE=1
ENV PYTHONUNBUFFERED=1
WORKDIR /code
COPY requirements.txt /code/
RUN pip install -r requirements.txt
COPY . /code/
CMD ["python", "manage.py", "runserver", "0.0.0.0:8000"]
The code above will be run line by line. The FROM line indicates what base container image we want to build on, and in this case we want to use a python 3 image. You can find more details on how this code works here.
Now we can run the following command to create and run the container image:
docker build . -t my-django-app:latest && docker run -e PYTHONUNBUFFERED=1 -p 8000:8000 my-django-app You should see something like:
You can launch the application the same way you have previously in this project as well, through Launch Application and specifying port 8000.
Alternatively, you can launch the application directly by clicking on this button.
With this, you can easily share the Docker image by following these instructions.

